
Many of you may think that throwing a plate on a potter’s wheel is an easy task to perform. But in reality, shaping a rimmed pottery plate, it is difficult. So you should practice well before you finally start throwing plates on a potter’s wheel. Cracks are a prevalent difficulty that you can face while shaping a ceramic. It is crucial for you to plan before you start throwing a plate on the wheel. Here are some of the tips that will help you in the process.
Decide the size of the plate
The amount of clay you need to create a dish depends on the size of plate you decide to make. Usually, you need to take one or two pounds of clay to shape a perfect plate. You can add some more mud if you want that can help the base of your dish to stay thick. You need to consider the fact that you can trim the extra earth, but it will be hard for you to add more clay once you have thrown the plate on the potter’s wheel. Some specific tools that you may require during the process are a wooden trimmer, a potter’s needle, sponge, a rubber rib, piece of chamois and also a massive loop tool.
You have to take into account the fact that while making dishes that may probably be used for serving food has to be high-firing clay. The glazes provided to these plates should not contaminate food and also should have a smooth surface. You should be well prepared before you finally sit down to throw you plates. You need to wedge the whole clay that you require to make the necessary number of dishes to avoid sticking again and again in the middle of the process. Remember to take the same amount of clay when you are required to make multiple plates so that they all appear similar.
Placing the clay
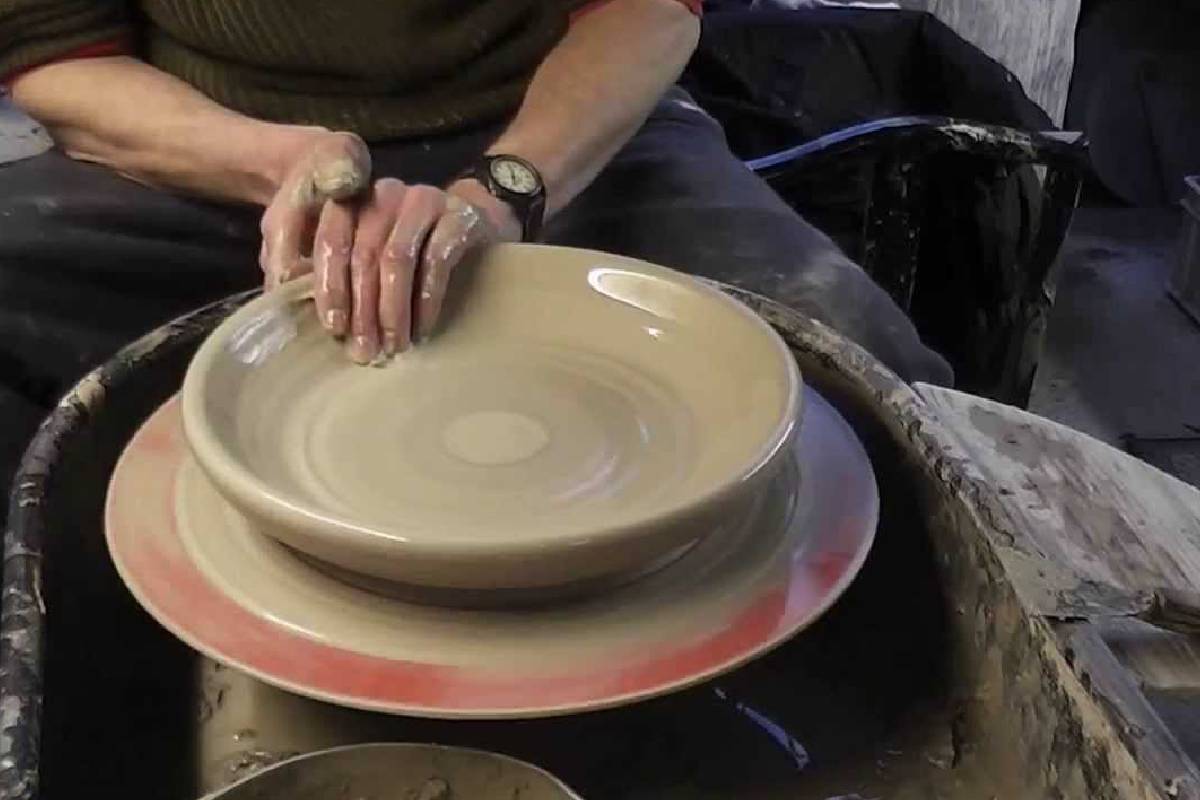
You need to learn the basic techniques before you start shaping a plate. When you throw the clay on the potter’s wheel, the first thing you need to remember is to bring the clay in the centre then spread the earth wide. When you have got the shape that you have desired for that is low and wide you will then have to compress the outer edges. You will also have to squeeze the centre of the clay to avoid cracks. If you find it difficult to estimate the thickness of the plate, a potter’s needle can be of great help.
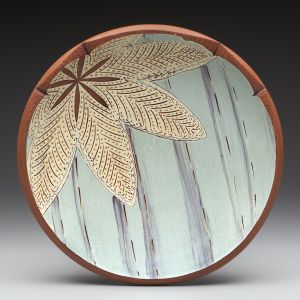
Rimmed pottery plate
After providing the plate with a slope at the centre to prevent the liquid from spreading spread all over the plate, adding a rim to the plate is essential and the next step to perform. The extra amount of clay that you have already saved earlier at the edges will help will to create a rim for your plate. Giving the side a precise finishing with the help of a sponge is vital to creating a rounded and a smooth edge. To get a perfect plate, you need to keep the inner space of the plate more rooted and the rim a bit high so that when food is served, it does not drop out of the plate.
Trimming off the final product
When you have completed the steps and have shaped your plate, you need to cut off the last product using a wire tool from the potter’s wheel. You will then need to place your dish between two pottery bats and leave it till the rim of the plate becomes hard and dries completely. Then you can turn it upside down and remove the bat off from the floor of the finished product.